Monday, December 31, 2012

Non-Alcoholic Rum Balls


I am sneaking this last entry into my Christmas Series right before we welcome in the New Year!  This is my brother's favourite dessert at Christmas, my mom makes them every year.  They are very simple to make and pack a lot of flavour.  They also don't have to go in the oven, which makes them even more simple!

I am so excited for the New Year and have a lot of plans for recipes to add to my collection on this blog.  I have been getting really into slow-cooking, so keep an eye out for that!

I hope everyone had a very Merry Christmas, and I wish everyone an awesome New Year! :)


Ingredients:

200 grams Graham Wafer Crumbs (1 package of Honey Maid Brand)
1 Cup Icing Sugar
1/2 Cup Cocoa Powder
1/2 Cup Corn Syrup
1 TB Rum Extract
2 tsp Instant Coffee dissolved in 2 tsp water (you can substitute juice)


Directions:

1.    Place dry ingredients in food processor and process until fine.


2.  Transfer to electric mixer and add the remaining ingredients.  Beat until well combined.

3.  Shape into balls and store on wax paper in air tight container in fridge.


4.  Enjoy!


Thursday, December 20, 2012

Nut Butter Marshmallow Bars


5 more days til Christmas!!!  This is one of my sister-in-law's favourite Christmas recipes.  It is so easy to make and it tastes like a creamy, white chocolate fudge.  Due to some allergies in my family I make this recipe with Golden Pea Butter, which has the same consistency as Peanut Butter.  We love it!

This recipe is gluten-free, depending on what nut butter you choose, and can also be dairy-free depending on which chocolate chips you use!

It is really getting down to crunch time now, there is so much that still has to be done before Christmas! 


Ingredients:

Equal Parts:

Chocolate Chips
Peanut Butter (I used Golden Pea Butter)
Marshmallows


Directions:

1.  Begin by melting the chocolate chips 10 seconds at a time in the microwave until melted.  Stir between each 10 second interval.


2.  While the chocolate is still hot, add the peanut butter/pea butter.  Stir until completely combined.


3.  Add the marshmallows right away and stir.  Place in a buttered baking dish.  I just used a glass tupperware.  I did 1/2 cup of each ingredient and it sat about 1 inch high in the tupperware.


4.  Let it sit in the fridge until it has reached a fudge-like consistency.  You can then cut into shapes or into squares.


Tuesday, December 11, 2012

St. Nicholas Cupcakes


Greetings! This is another entry for my Christmas Series.  This particular recipe is my mother's favourite at Christmas.  It is our traditional, family recipe which we make every year.  I can't remember a Christmas when we didn't have this!  

It started as the St. Nicholas Cake.  It was made in a bundt pan and was decorated in the same way, with four sets of blossoms on top.  We started making the cupcakes about 5 years ago when cupcakes starting to get so popular!  I prefer them this way because they cook quite a bit faster (the cake would take almost an hour to cook), and they are easier to gobble up on Christmas Eve!  

This cake is very light, due to the 4 eggs in the recipe.  The almond extract adds such a unique and festive flavour.  I absolutely love this cake, and it isn't quite Christmas until the house smells like sweet almonds.

In other news, I think I am basically done all of my shopping for Christmas!  How about you guys?  


Ingredients:

Cake:

2 Cups White Flour
1 3/4 Cups White Sugar
2 tsp Baking Powder
Pinch  Salt
1 Cup Crisco Shortening
3/4 Cup Milk (Any kind will do, I used soy)
1 tsp Almond Extract
1 tsp Vanilla Extract
4 Eggs


Glaze:

1 1/2 Cups Icing Sugar
1/2 tsp Almond Extract
2 1/2 TB Warm Water

ALSO:  You will want to get some red and green glace cherries for the garnish!


Directions:

1)  Start by preheating your oven to 365 degrees.

2)  Combine the flour, sugar, baking powder and salt in your electric mixer.

3)  Add the shortening, milk and extracts and beat for 2 minutes.


4)  Add the eggs and beat for another 2 minutes.


5)  Fill greased cupcake liners 3/4 full.  Bake for 18 minutes or until a toothpick comes out clean.  As always, if you notice your cupcakes getting too brown on top, place a greased sheet of foil over the top.  Crease the foil in the middle to make a tent so it does not stick to the cupcakes.


6)  While the cupcakes are cooling you can start the glaze.  Combine all of the ingredients in the mixer until it is smooth.


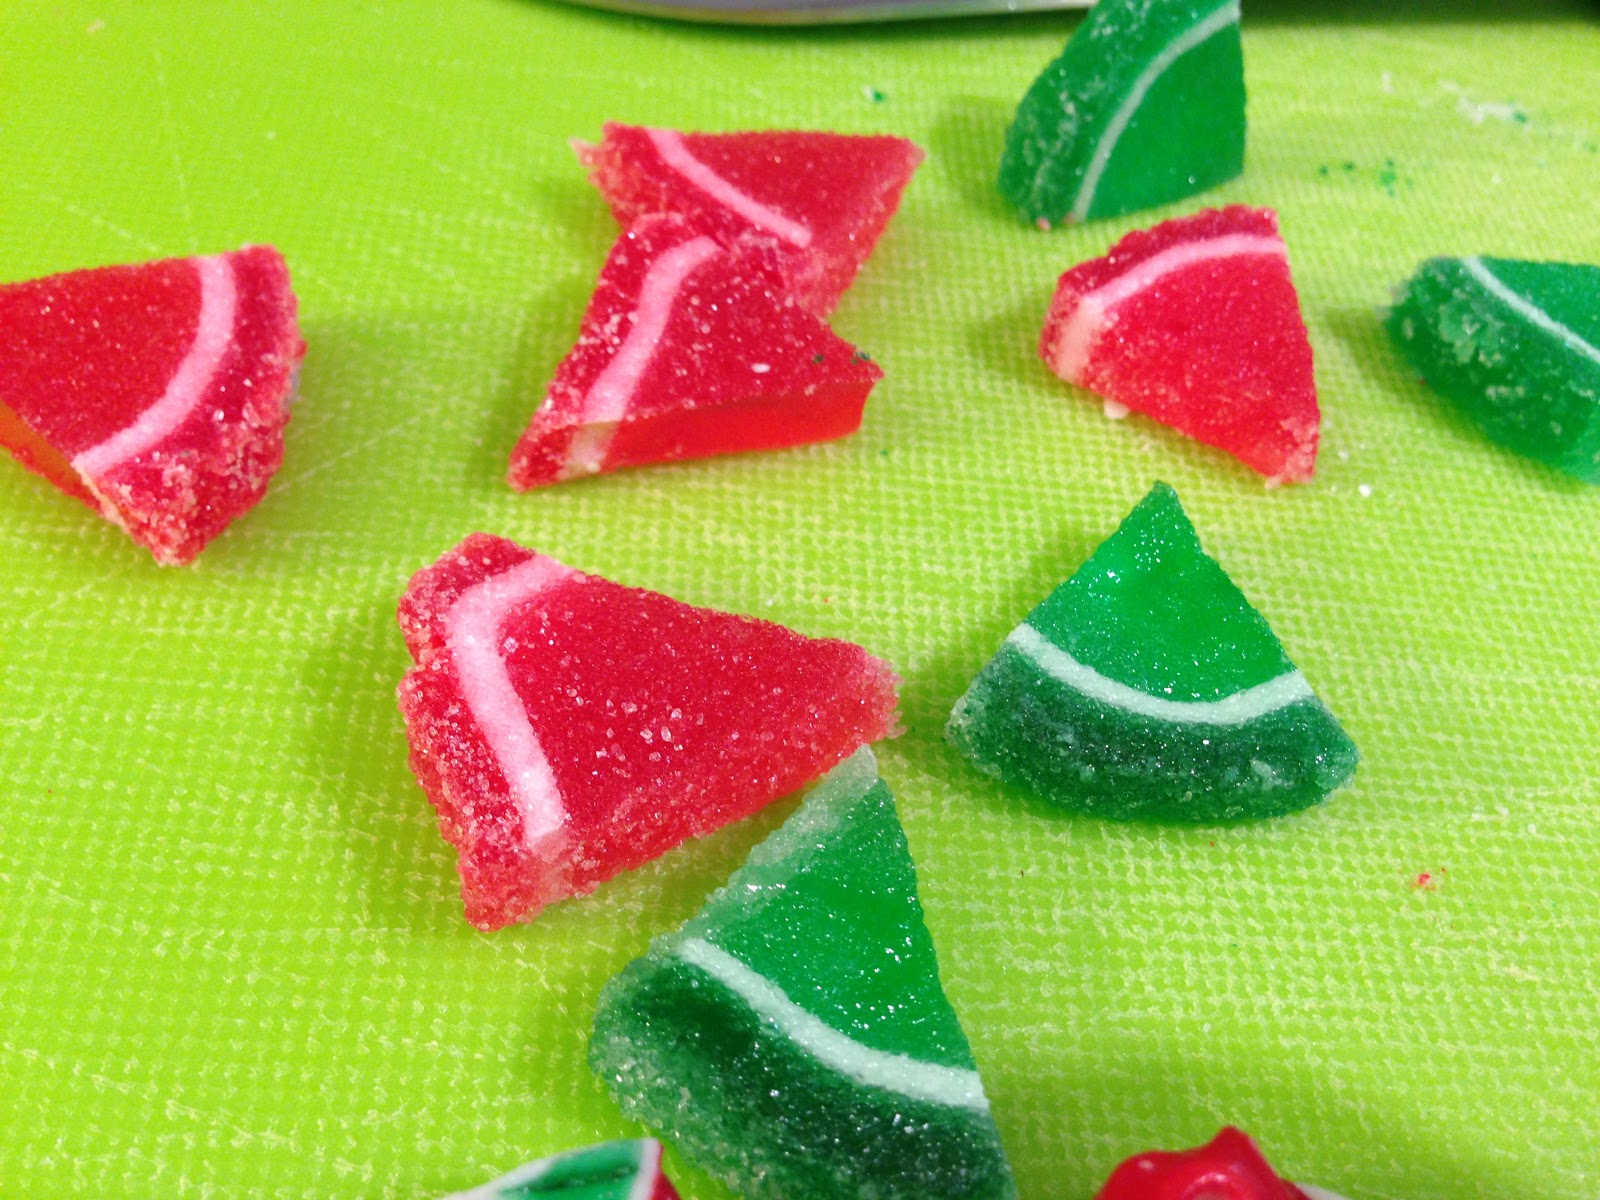
7)  Before you put the glaze on the cupcakes you will want to cut your cherries.  The red cherries get cut in half, and the green cherries get cut into 8 pieces, you will need 4 to make the leaves as shown here:


8)  Cover the cupcakes in the glaze, we took the liners off and placed the cupcakes upside down to see how that would look.  You can leave them in the liners if you would prefer!  Arrange the cherries as seen in the picture below, making sure the green leaves are all going in the same direction.  It is important to place the cherries before the glaze sets, otherwise when you put the cherries on the glaze will begin to crack.


9)  Enjoy!!  Only 14 more days until Christmas!  Yay!

Thursday, November 29, 2012

Gingerbread Cake with Chocolate Peppermint Icing


 Ho Ho Ho, and Merry November 30!  Oh man, it is almost December!  I know that some of you can probably relate with me when I say that sometimes people give you a raised eyebrow when you start getting into the Christmas Spirit in early November.  As it nears the beginning of December I have realized that one of the benefits of starting the Christmas season so early is that you can fit a lot more awesome stuff in!  25 days is not enough time to experience everything, am I right?

This is another addition to my Christmas series, but unlike the previous ones, this is something I have never tried before.  I am a huge fan of gingerbread.  I love the lattes, the cookies, and that malevolently delicious gingerbread loaf you can get a Starbucks, it mocks me when I stand in line for my coffee!

I decided to experiment with combining the flavours of a gingerbread cake, and peppermint.  These are two of my favourite Christmas-time flavours, but I was curious how they would taste together.  I can now report, that they are a fracking awesome combo!

Are you guys experimenting with any new recipes this holiday season?


Ingredients:

Gingerbread Cake:

2 Cups White Flour
1 tsp Baking Soda
1/4 tsp Salt
1 1/2 tsp Cinnamon
1 tsp Nutmeg
1 tsp Ground Ginger
1/2 Cup Margarine
1/2 Cup Packed Brown Sugar
2 Eggs (Large)
1 Cup Liquid (I used water, but milk would work also)
1/2 Cup Molasses 
Miscellaneous Candy


White Peppermint Icing:

1 1/2 Cups Icing Sugr
1/2 tsp Peppermint Extract
1 TB Margarine
1/4 Cup Water  


Chocolate Peppermint Icing:

2 Cups Icing Sugar
2 TB Cocoa Powder
1 TB Margarine
1/4 Cup Water


Directions:

1.  Preheat your oven to 350 degrees.  Grease and flour two cake dishes, mine were approximately 8 or 9 inches.


2.   Combine the flour, baking soda, salt, cinnamon, ground ginger and nutmeg.


3.  In an electric mixer combine the margarine and sugar, mix for about two minutes.  Add the eggs one at a time and beat well.  Lastly, add the molasses and combine!

4.  Alternate between adding the dry ingredients and your cup of liquid, beginning and ending with the dry mixture.  This ensures that everything gets well combined.

5.  Distribute the batter equally between the two pans and place in oven.


Make sure the tops are fairly level!


6.  Bake for 25 to 30 minutes, or until a toothpick can be placed inside the cakes and come out clean.  Keep an eye on your cakes because they will cook faster due to separating the batter between the two pans.  While the cakes are cooling, you can start the icing!


7.  You are going to want to start with the white peppermint icing.  Combine the peppermint extract and margarine in your electric mixer.  Add the icing sugar and water and mix until smooth.  Make sure you scrape down the sides of the bowl in case there is any icing sugar that hasn't been combined.

8.  When the cakes are cool ice the top of one with the peppermint icing, letting the icing fall down the sides.  Place the second cake on top of the iced cake.  The top of the second cake is going to be iced with the chocolate peppermint icing.  Add a garnish of crushed candy cake around the sides of your cake to add extra Christmasy flare!  You can always do with more flare!


9.  Begin the chocolate peppermint icing by combining the cocoa powder and margarine in an electric mixer.  Add the water and icing sugar until smooth.  Lick the spatula if no one is watching, share it with them if they are.  


10.  You want this icing to be slightly thinner than the white icing, so it pours easily down the sides.  Add a couple of teaspoons of additional water at a time until it is the consistency you want.     


11.  Garnish the top of your cake with an assortment of Christmas candy!  This will make it fun for your guests when they get their piece.  I placed my cake in the fridge for a bit to make sure the icing on top had set so the candy wouldn't sink in too much.  Here are some of the candies I got from the bulk section at Save-on-Foods:


Okay guys, can we talk about the creepy, red Santa Penguin?  What is happening here?  He was delicious.

Sunday, November 18, 2012

Sour Patch Kid Cookies


Greetings!  This is the second installment in my Christmas Series.  These cookies are my absolute favourite at Christmas.  My mom and I kind of invented them, in a way.  We saw a recipe for something similar, but they used gumdrops.  We decided to switch it up and add Sour Patch Kids instead.  The taste is very unique and fruity.  

The cookies are definitely not sour, as some of the tartness lightens up in the cooking process.  The cookies themselves are very soft and chewy, which is one of the main reasons I love them so much.  I think kids would get a kick out of these because they are so different.  

I had to take my pictures of these quickly as they do not last very long in this house!  


Ingredients:

1 Cup Sour Patch Kids (Red and Green)
1 3/4 Cups White Flour
1/2 Cup Shortening
1 Cup Brown Sugar (packed)
1 Egg
1/4 Cup Orange Juice
1/2 tsp Baking Soda
1/2 tsp Salt


Directions:

1.  Preheat your oven to 350 degrees.

2.  Start by preparing the sour patch kids.  I bought one of the big bags and separated the colours.  Red and green look more festive than using all of the colours, and I found that the bag had exactly one cup of red and green in it.  I cut my sour patch kids in half before placing them in a ziploc with 1/2 cup of the white flour.  Shake them up so they are coated in flour, this keeps them from sticking together when mixed into the batter.


3.  In a mixer combine the shortening and brown sugar.  Add egg and liquid and beat until smooth.


4.  In a separate bowl mix the baking soda, salt and 1 1/4 cups of flour.  Add this to the mixer with the creamed mixture.  Add the candy and mix well.


5.  Drop the cookies onto a baking pan with a spoon.  I used greased parchment because it keeps the bottoms from getting too brown.  Make sure you place them at least two inches apart, because these will spread and get stuck together, as some of mine did! This recipe makes approximately 24 cookies.


6.  Bake for 12 to 15 minutes or until the bottoms are lightly browned.  They will apear gooey inside when they come right out of the oven, but once they cool they will set.